Github 블로그 생성
먼저 Github 블로그 생성을 위해 repository 먼저 생성해봅시다.
-
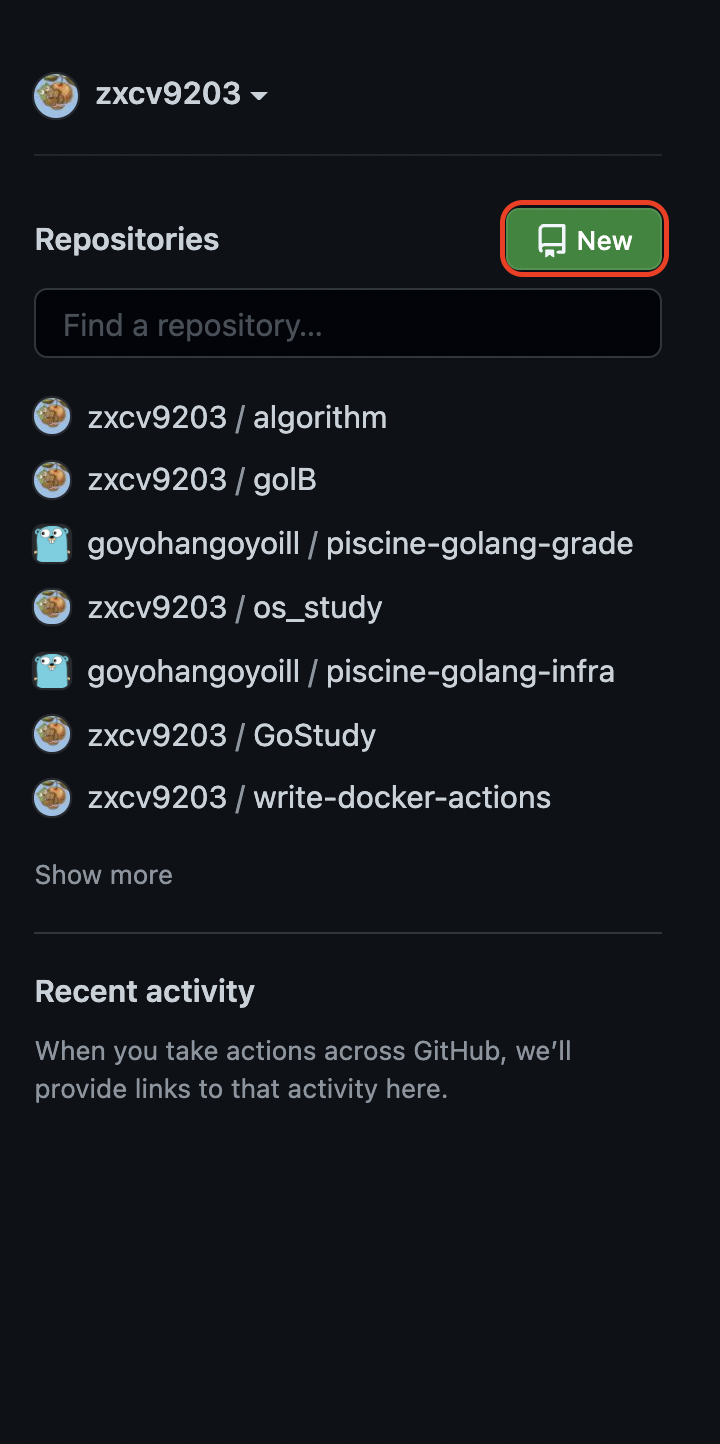
https://github.com 에 접속하여 로그인합니다. (깃허브 계정이 없다면 다음 빨간 박스를 선택한 후 가입해야 합니다.)

-
깃허브 블로그로 사용할 레포지터리를 생성합니다.
-
레포지터리 이름을 다음과 같은 형태로 만듭니다.
<github id>.github.io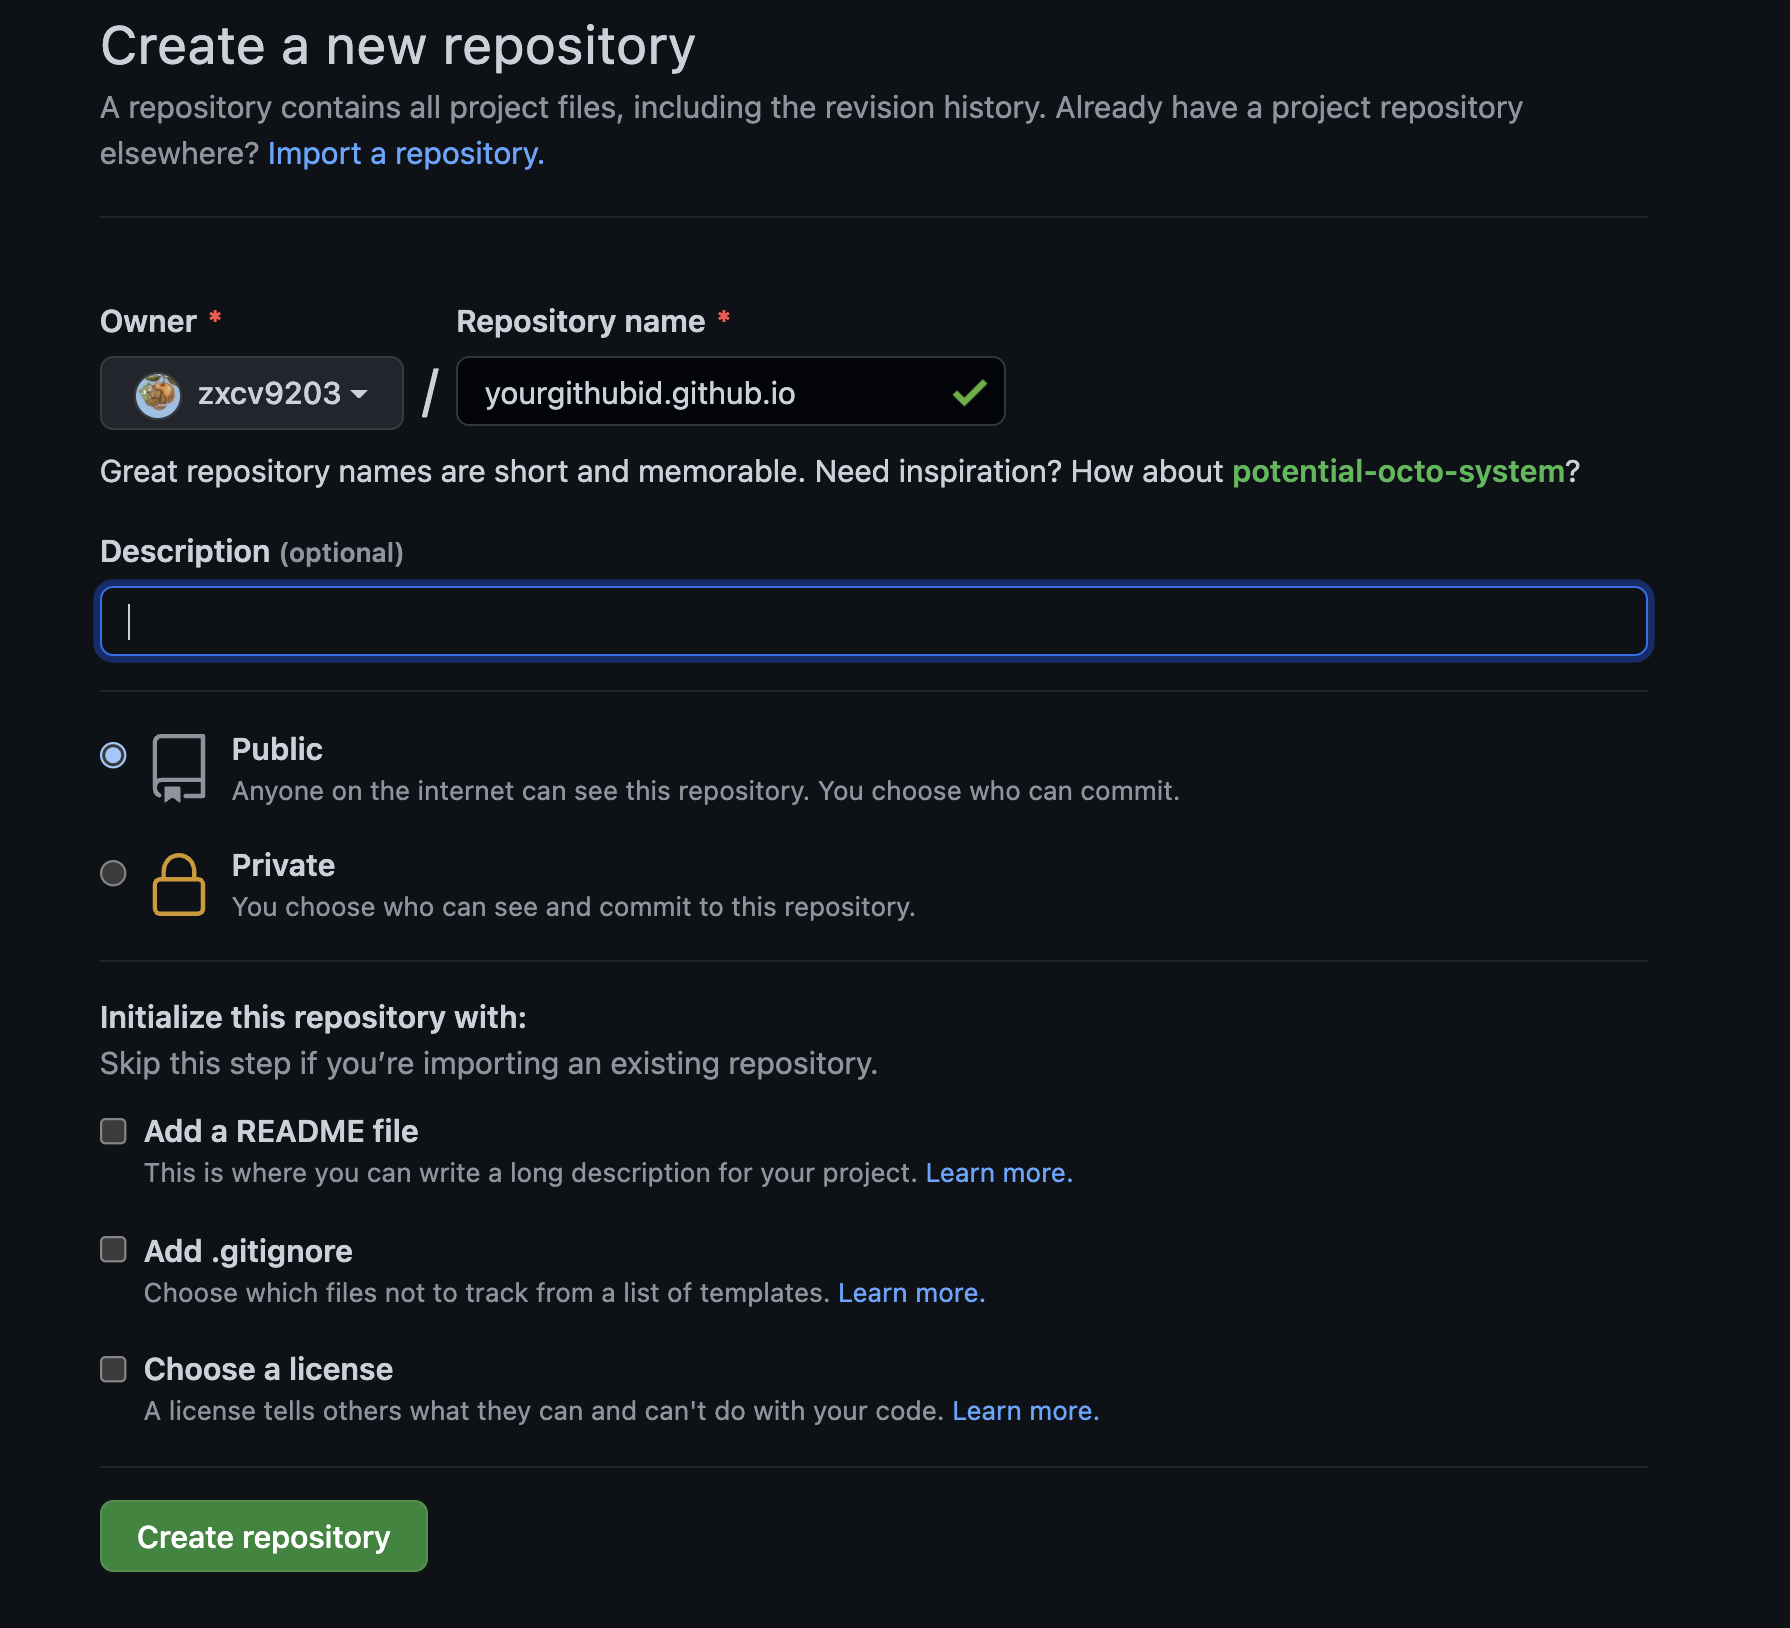
Hugo를 이용한 정적 사이트 생성하기
웹 개발에 대한 지식이 없기때문에 정적 사이트 생성기를 통해 깃허브 블로그를 사용하기로 했고 이번에는 Hugo(이하 휴고)를 사용해서 블로그를 만들려고한다.
먼저 휴고를 사용하기 위해서 휴고를 설치해야하는데 brew를 사용하면 간단하게 설치할 수 있습니다.
저의 경우 WSL2를 이용해 우분투를 사용해서 linux homebrew를 설치하여 해결하였습니다.
먼저 linux homebrew 먼저 설치해봅시다. (Mac 사용자라면 Hugo 설치부터 시작하시면 됩니다.)
linux homebrew 설치
- 설치하기 전에 설치에 사용되는 패키지들을 터미널에 다음 명령을 입력해서 다운받습니다.
sudo apt-get install build-essential procps curl file git
- linux homebrew repository를 클론합니다.
git clone https://github.com/Homebrew/brew ~/.linuxbrew/Homebrew
- brew 명령을 사용하기 위해 bin 폴더를 만들고 다음 경로에 brew 명령의 심볼릭 링크를 생성합니다.
mkdir ~/.linuxbrew/bin
ln -s ~/.linuxbrew/Homebrew/bin/brew ~/.linuxbrew/bin
- PATH 설정을 유지하기 위해서 다음 명령을 통해서
.zshrc에 저장합니다.
echo 'eval $(~/.linuxbrew/bin/brew shellenv)' >> ~/.zshrc
Hugo 설치
- brew 명령어를 이용하여 hugo를 설치합니다.
brew install hugo
- hugo를 이용해서 블로그를 만들기 위해 다음 명령을 입력합니다. (project name은 사용할 프로젝트의 이름을 입력하면 됩니다.)
#ex :  hugo new site <project name>
hugo new site blog
-
https://themes.gohugo.io/ 에서 원하는 테마를 고릅니다.
-
원하는 테마를 서브모듈로 추가합니다.
# cd <project name>
cd blog
# git submodule add https://github.com/<themeGithubId>/<themeGitRepo> themes/<yourWantThemeDirectory>
git submodule add https://github.com/MeiK2333/github-style.git theme/github-style
- 원하는 테마를 선택하면 원하는 테마에서 요구하는 데로 config.toml 파일을 작성합니다. (저의 경우는 github-style 테마를 사용했습니다.)
touch config.toml
baseURL = "https://zxcv9203.github.io" # 블로그 경로
languageCode = "ko-kr" # 사용 언어
title = "zxcv9203's blog" # 웹 페이지 타이틀
theme = "github-style" # 테마
#googleAnalytics = "UA-123456-789"
#pygmentsCodeFences = true
#pygmentsUseClasses = true

[params]
  author = "yongckim" # 이름
  description = "42 cadet" # 자기 소개
  github = "zxcv9203" # github 계정명
#  linkedin = "yongckim" # linked in 계정명
  email = "yongckim@student.42seoul.kr" #이메일
  url = "https://zxcv9203.github.io" # 사이트 주소
  keywords = "blog, google analytics"
#  rss = true
  lastmod = true
  userStatusEmoji = "😀" # 프로필사진 옆 이모지
  favicon = "/images/github.png" # 파비콘설정
  avatar = "/images/avatar.png" # 프로필 사진 설정
  location = "Korea" # 현재 위치 설정

  [[params.links]]
    title = "algorithm" # organization link
    href = "https://www.acmicpc.net/user/zxcv9203"
		icon = "https://zxcv9203.github.io/images/boj.png"
#  [[params.links]]  하단 아이콘 링크 추가
#    title = "Link2"
#    href = "https://yongckim.github.io/"
#   	icon = "https://zxcv9203.github.io/images/avatar.png"

[frontmatter]
  lastmod = ["lastmod", ":fileModTime", ":default"]
- 테마가 잘 적용되었는지 확인하기 위해 다음 명령을 사용한 후 http://localhost:1313 으로 접속합니다.
# hugo server -t <theme name>
hugo server -t github-style
- 테마가 잘 적용된 것을 확인할 수 있습니다.